How to use snaps when collecting IoT data with Predix Time Series
Guest
on 9 November 2016
Tags: IoT , Snap , snap packages
This is a guest post by Ilya Drabenia, a Technical Lead at Altoros. If you would like to contribute a guest post, please contact [email protected]
Snaps, designed by Canonical, are intended for packaging applications and their dependencies, along with the instructions for running these applications. In this article, we focus on how to write time-series data from your Linux environment to the Predix Time Series service using a snap.
Scenario
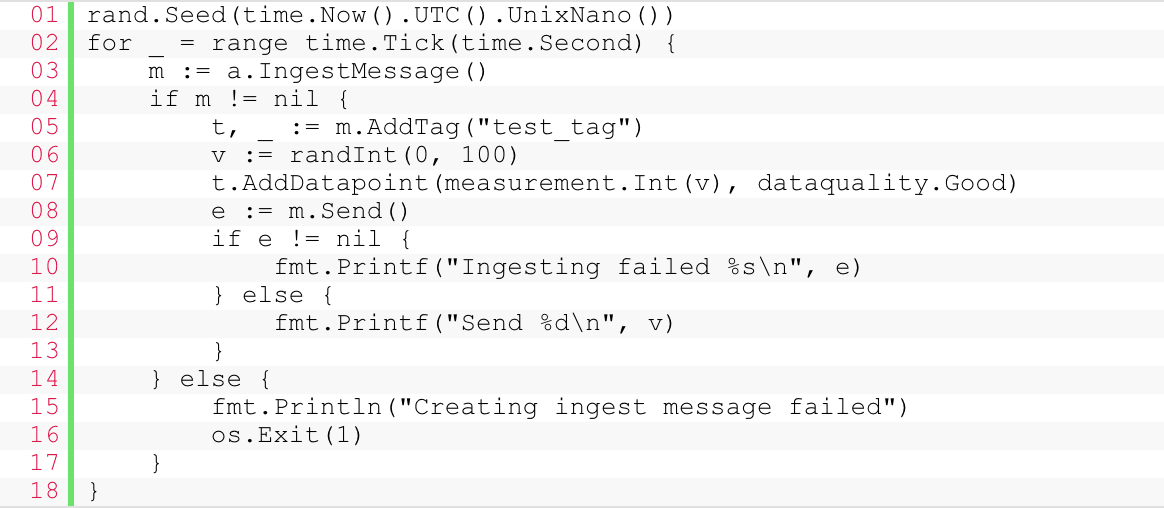
We will use a data generator to create a sample data stream from a device to Predix. Our previous post provides more details about this generator.
The sensor.go file:

You can find more information, including the source code of the solution and a Go library for interacting with the Predix Time Series API, in this GitHub repository.
Packaging the generator into a snap
For creating a snap, you need to install the Snapcraft tool first. Then, declare the snap configuration that is provided below.
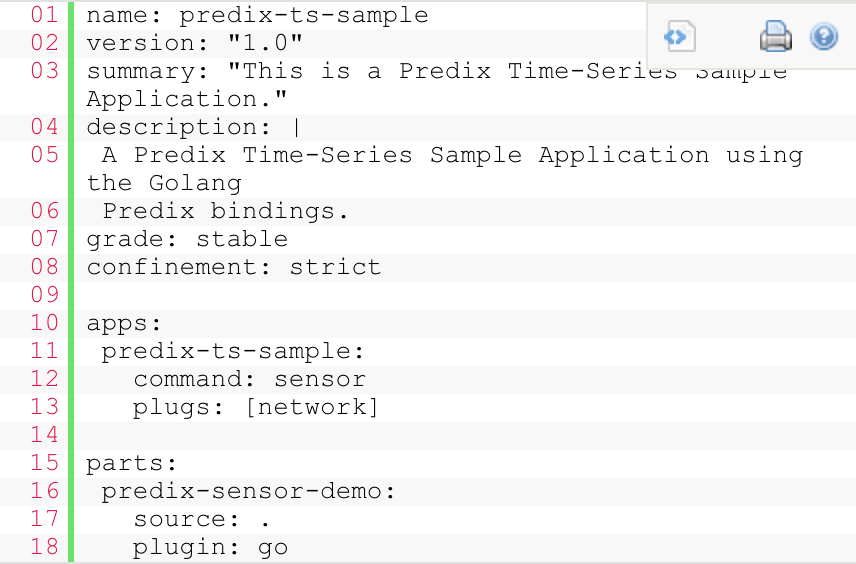
The snapcraft.yaml file:

In this file, specify the name and the version of your snap. To build the snap, we also include the command for starting the application and its source code.
Then, run the snapcraft command, which compiles source code and packages it into a snap.

After that, you can publish your snap to a snap repository.
Releasing the snap
Before releasing the snap, register an Ubuntu One account and then run the following commands:
$ snapcraft login
$ snapcraft register predix-ts-sample
Now, you should be able to push your application to a snap store

Finally, you can release this snap.

Verifying the snap
You can check that the snap was really published in the uApp Explorer app store, and the predix-ts-sample application is now located there.

You can install this snap on your device using the following command:
$ sudo snap install predix-ts-sample
To run the snap, enter predix-ts-sample on the command line:

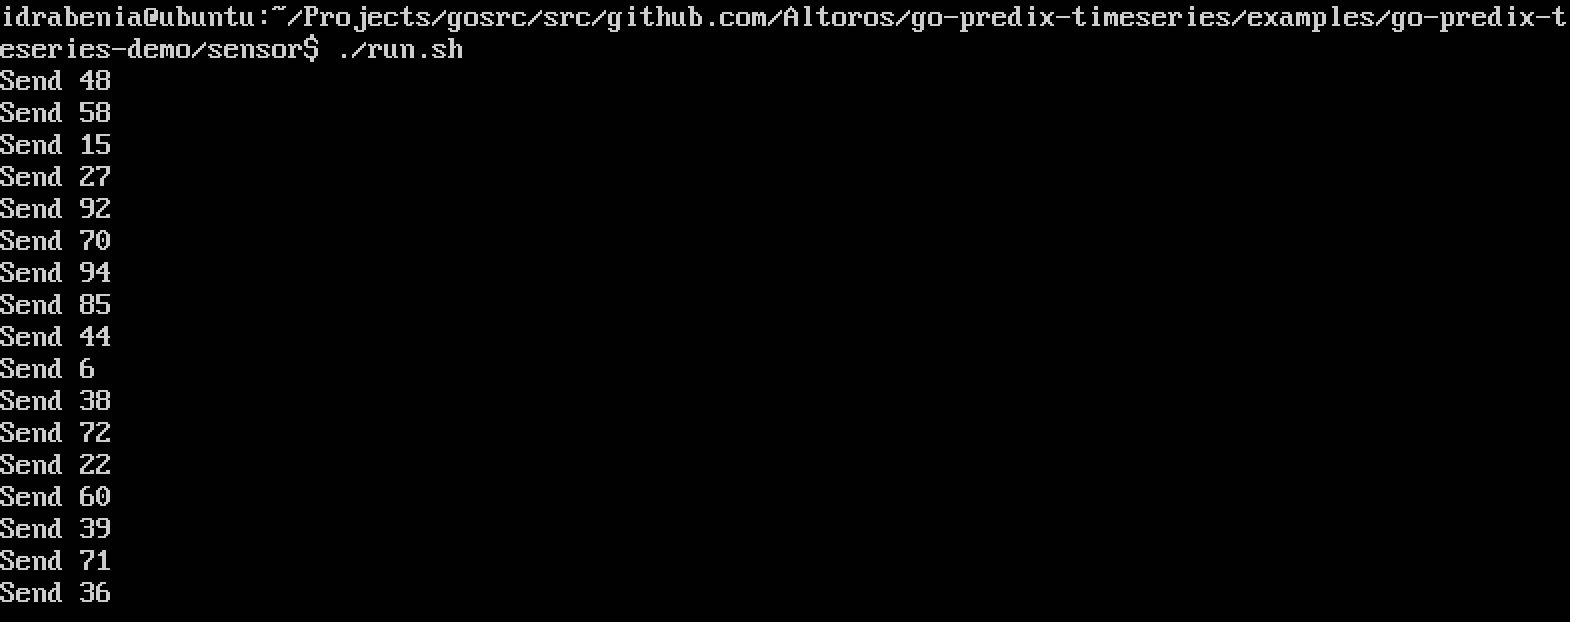
After providing all required configuration parameters, you will see the next output:

Conclusions
In this tutorial, we tried working with the new package management system from Canonical that is focused on the reliability and isolated execution of snaps. Device engineers can install multiple snaps and create a whole system from reusable building blocks almost without programming. Judging from our experience with snaps, developing, as well as publishing, them is quite easy, and the process is supported by good enough documentation.
Original source here
Open source is what we do
We believe in the power of open source software. Besides driving projects like Ubuntu, we contribute staff, code and funding to many more.
Newsletter signup
Related posts
Real-time OS examples: use cases across industries
In sectors where precision and predictability are non-negotiable, timing is everything. Whether coordinating robotic arms on a factory floor, maintaining...
How to enable Real-time Ubuntu on your machine
If you’re here, you likely already know about preemption, determinism, and real-time capable operating systems. If that’s the case, and you want to learn how...
The State of Silicon and Devices – Q2 2025 roundup
Welcome to the Q2 2025 edition of the State of Silicon and Devices by Canonical. In this quarter, we have seen momentum accelerate in edge computing, as well...
